The next two methods (transpose and flipRows) can be applied in sequence to rotate the board 90 degrees clockwise. This will allow you to reuse your existing code for swipeLeft and mergeLeft for any of the four directions.
For example, we can swipe right by rotating the board twice, calling swipeLeft, then rotating the board twice to return it to its original orientation. The provided method rotateBoard calls transpose and flipRows in sequence to complete a 90 degree clockwise rotation.
- Watch this video to learn more about the intuition behind these methods.
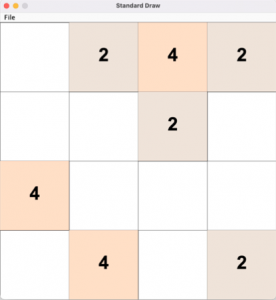
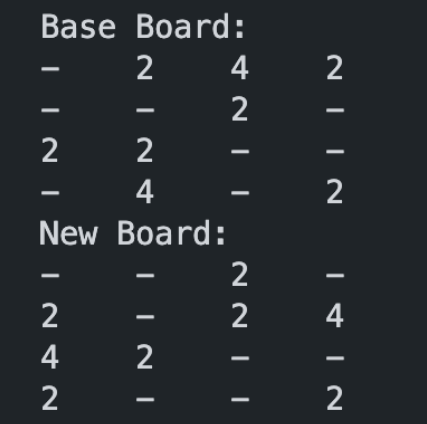
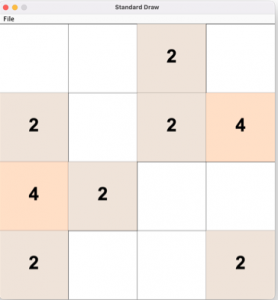
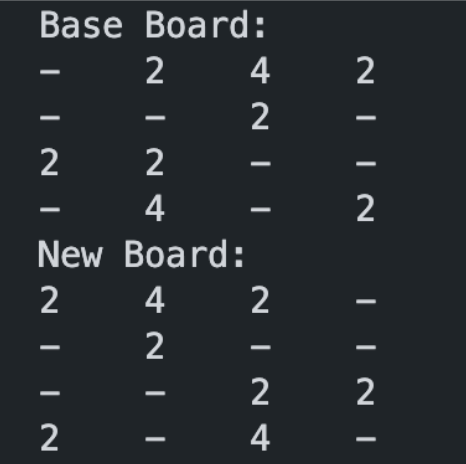
5. transpose
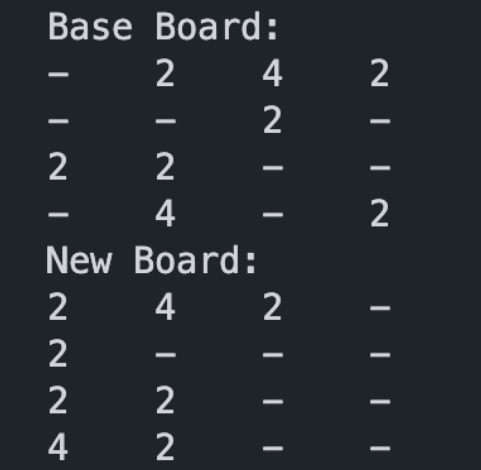
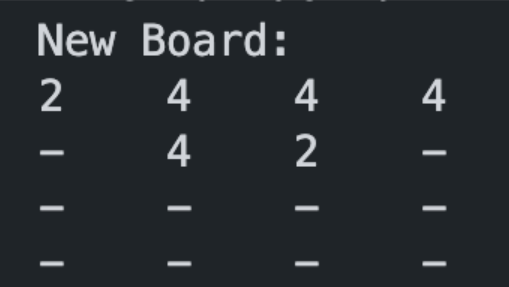
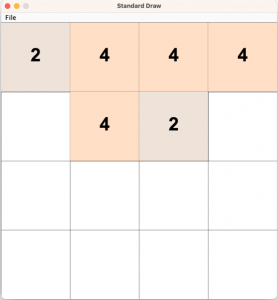
Interchange the rows and columns of the board. In other words, row 1 should become column 1, row 2 becomes column 2, and so on. More formally, gameBoard[i][j] becomes gameBoard[j][i] for all 0 <= i < 4 and 0 <= j < 4.
- Transposing flips the board along its main diagonal (top left to bottom right).
- Watch this video to learn more about this method.
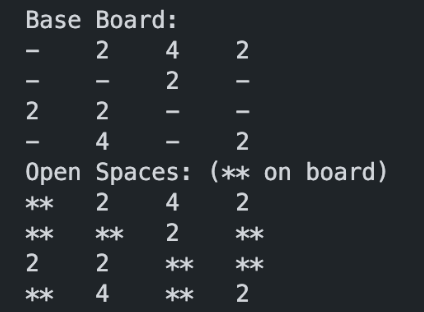
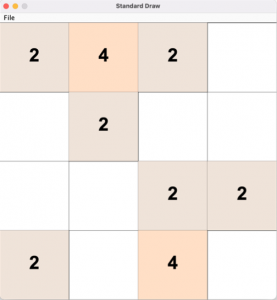
Here is an example of testing this method using input1.in in both drivers.